Truck cabs
Mount it behind the rear cab wall or under the driver's seat to keep the cab warm on overnight stops.
Explore this application
Split diesel air heater
A separate system layout for RV and camper-van owners planning the heater and its related components individually.
Consult the H1 manual for model-specific instructions.
A considered approach
A split layout separates the heater from the rest of your system plan.
Before choosing H1, check the installation space, the 12/24 V supply and the fuel and exhaust routes. H1 is installed by the buyer, so read the installation essentials and the full guide first.
Full installation guide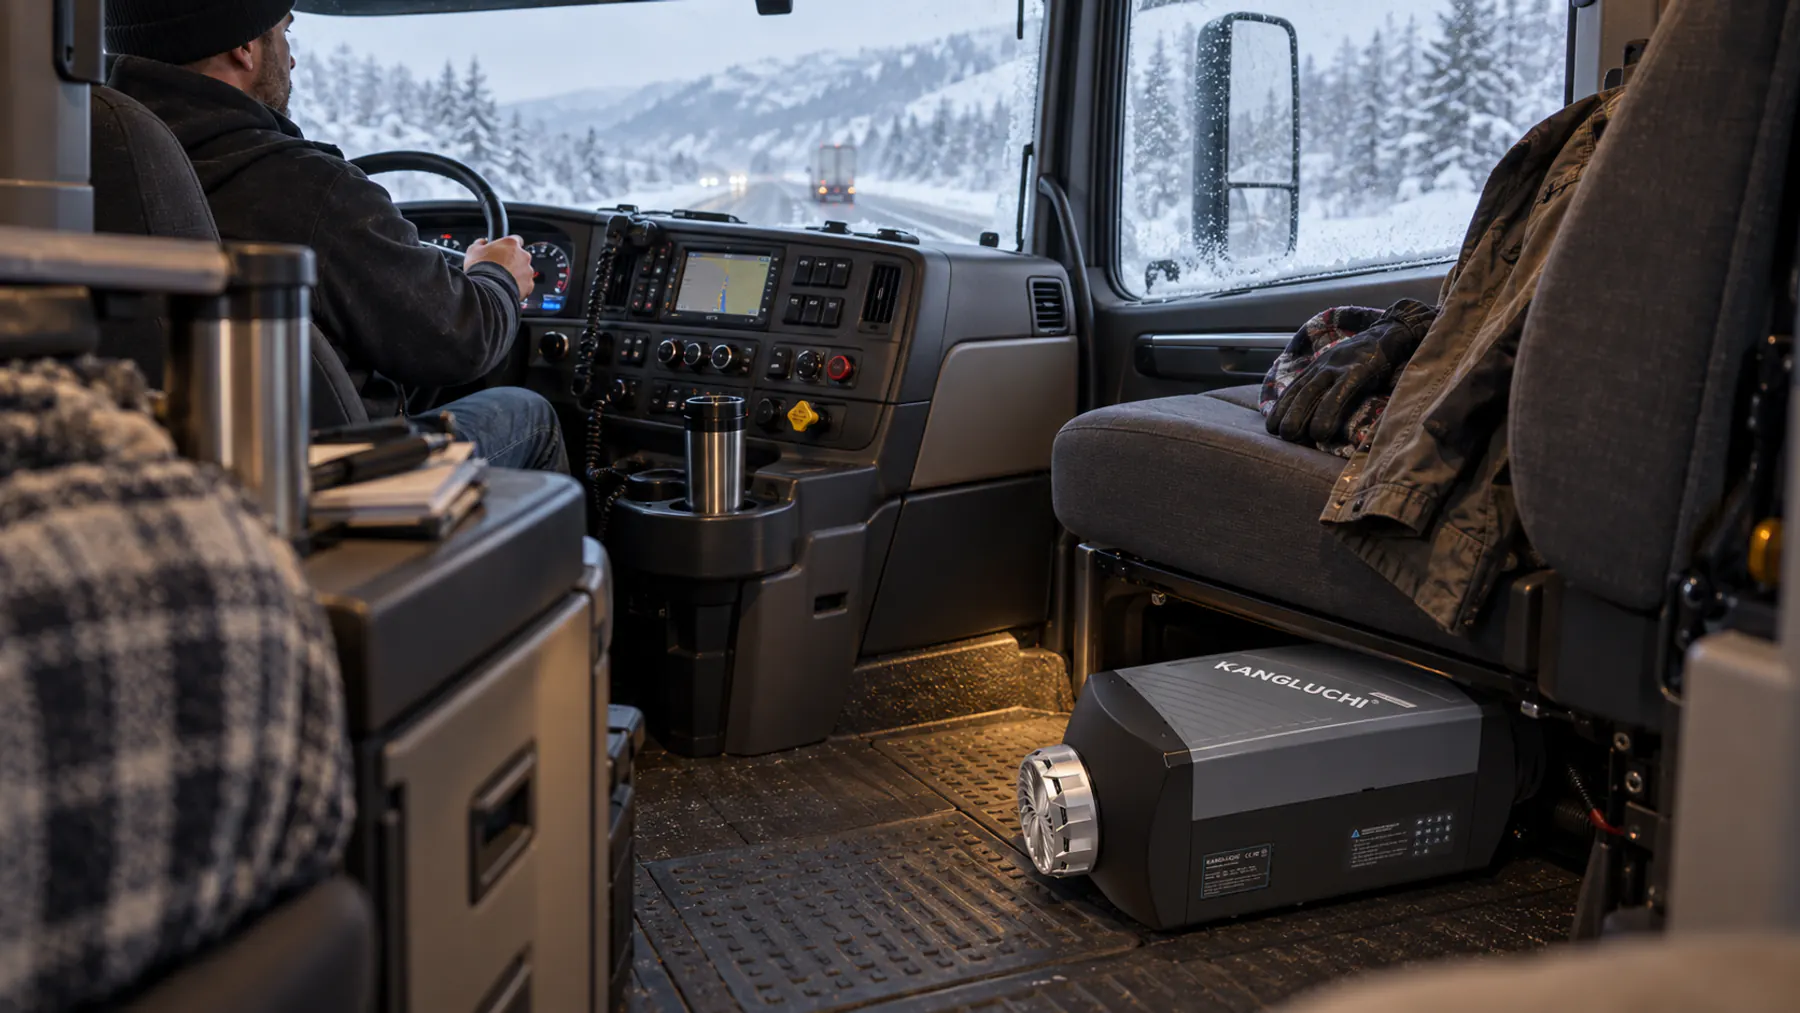
Built around your plans
Conceptual scene · Not an installation reference
Where it fits
H1 stays in place: the heater, fuel pump and pipes are installed separately, and warm air is ducted into the space.
Mount it behind the rear cab wall or under the driver's seat to keep the cab warm on overnight stops.
Explore this applicationInstall it beneath the floor or inside the living area and duct warm air where you need it.
Explore this applicationA permanent heat source for caravans, utility vans and work vehicles.
Explore this applicationHeat a cabin on board. Plan the fuel supply and exhaust route carefully and protect the heater from splashing water.
Explore this applicationNot for use where hazardous goods are loaded, unloaded or transported.
Plan with the right information
H1 is installed by the buyer. Install it yourself only if you are confident with 12/24 V DC wiring, fuel lines, drilling through the vehicle floor and routing exhaust outdoors. If not, have it fitted by a qualified installer.
Mount the heater level on its base, not tilted or on its side.
Install the heater and fuel metering pump at approximately the same height as the fuel tank.
Use ducts rated for continuous temperatures of at least 130°C (150°C for short periods); recommended inside diameter is 75 mm.
Total intake and exhaust pipe length: maximum 2.0 m with muffler, 5.0 m without muffler; recommended inside diameters: intake 25 mm, exhaust 24 mm.
Route intake and exhaust pipes downward, sloping away from the heater; otherwise drill a 4 mm condensate drain hole at the lowest point.
Check source: 12 V or 24 V DC, at least 15 A and rated power at least 150 W.
H1 is available on Amazon US; visit our support directory for documents and support services.
Find support informationKnow your setup
Figures shown are nominal specifications or estimates. Actual results may vary with the installation, ambient conditions, fuel quality, power supply and operating mode.
Looking for all-in-one?